
Tiny Editor Checker: Teacher
Introduction
This Brickfield Accessibility Checker for TinyMCE checks your content for accessibility problems while you write it in the Moodle text editor.
- It lists what it finds.
- It explains why each issue matters.
- It fixes most issues for you.
The checker works anywhere you use the text editor in Moodle, for example in a course summary, a page, a label, an assignment description or a forum post.
Before You Start
The checker is available to teachers and other staff. If you cannot see its button in the editor, ask your Moodle site administrator whether the checker is turned on for your role, and whether it has been enabled.
The checker only reads the content in the editor. It changes nothing until you choose AND save a fix, and you can undo every fix.
Remember, in order to update your content:
- Open the checker.
- Engage with the fix solutions.
- Then save as you would with any other edit changes.
Open the Checker
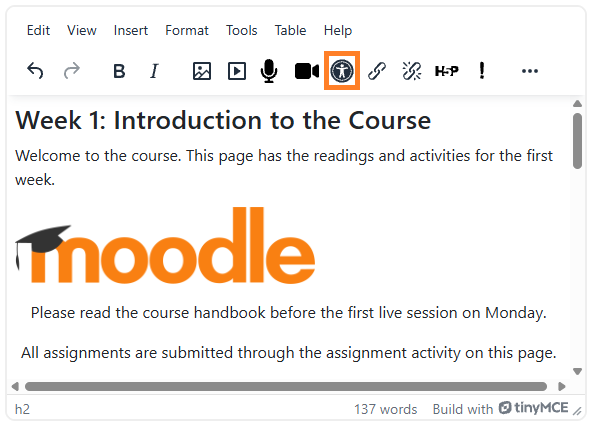
- Select the Brickfield Accessibility Checker button on the editor toolbar.
- Open the Tools menu in the editor and choose Brickfield Accessibility Checker.

Read the Results
The checker opens a panel beside your content. At the top, the panel shows how many issues it found and how many of them it can fix.
Below that, the issues are grouped by type. Each group has:
- a description of the issue
- a help button that explains why the issue matters
- an entry for each place the issue occurs, with a short extract of your content
- View and Fix buttons for each entry

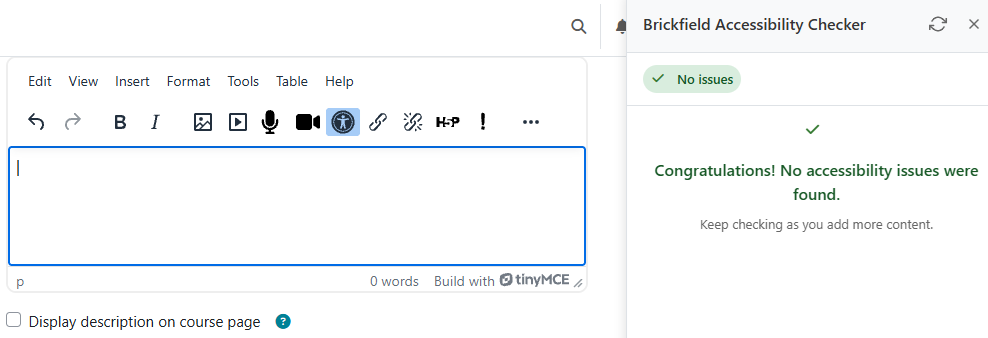
If the checker finds nothing, the panel says: Congratulations! No accessibility issues were found.
Find an Issue in Your Content

Get Help With an Issue
Fix Issues
Select Fix next to an issue. Depending on the issue, the checker does one of these things:- It fixes the issue straight away.
- It asks you for something it cannot work out itself, such as a description of an image.
- It asks you to confirm before it restructures your content.
- It tells you what needs changing, in the case of issues only you can fix.
Undo a Fix
Every fix goes into the editor’s undo history. To reverse the last fix, press Ctrl+Z (Cmd+Z on a Mac), or select Undo on the editor toolbar. After you undo a fix, run the checks again so that the panel matches your content.Check Again After Changes
The list of issues does not update by itself. After you change your content, select the Re-check content button (a circular arrow) at the top of the panel to run the checks again.Download the Results
Select Download CSV at the bottom of the panel to save the issues as a comma-separated values (CSV) file. It opens in a spreadsheet program such as Excel.
The file has one row for each issue, with these columns:
- Check ID
- Element Type
- Issue Description
- Element Text
- HTML Snippet
- Location
